Ryobi P761 Tear Down

I was the hardware engineer for the Ryobi P761 speaker, which involved creating the schematics and PCB in Altium, working together with a mechanical designer to select component locations to fit the enclosure, and making changes based upon EMI and ESD testing. I didn't do any of the firmware work.

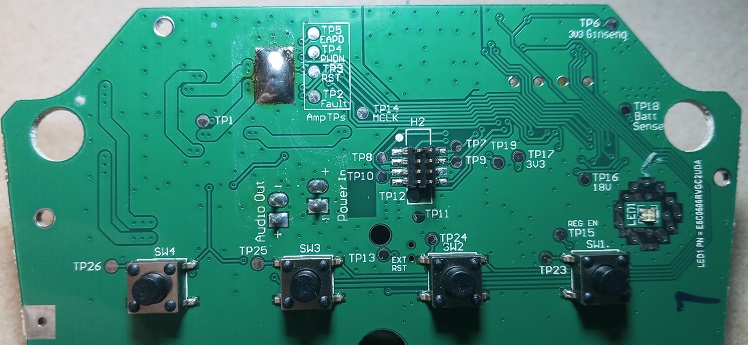
One thing I learned from this project was to put the board name and version number on both sides of the PCB. When screwed into the top enclosure piece, only the side of the PCB without that information is visable. I also should have labeled the buttons with their function. Both of those things made testing a bit more time consuming.

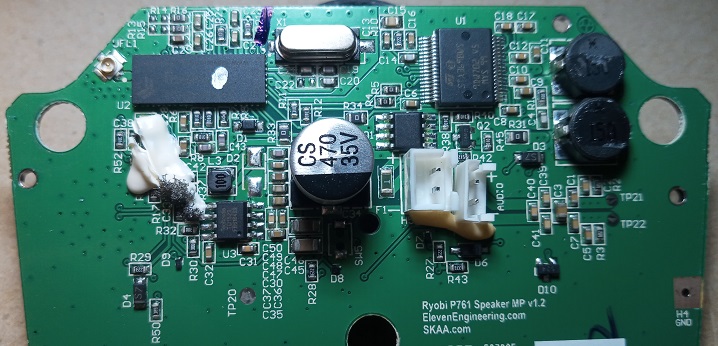
You can see my mark in the upper right corner above the two large black inductors.

| Type | Manufacturer | Part Number | More Info |
|---|---|---|---|
| uC/Radio | Eleven Engineering | Ginseng | |
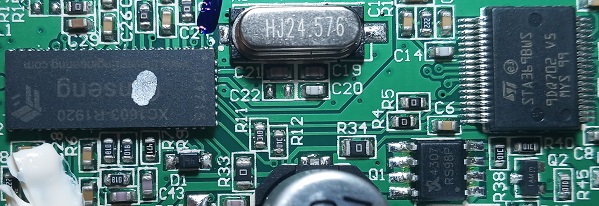
| D-Amp | ST | STA369BW | Data Sheet |
| Buck Regulator | Techcode | TD1529 | Data Sheet |
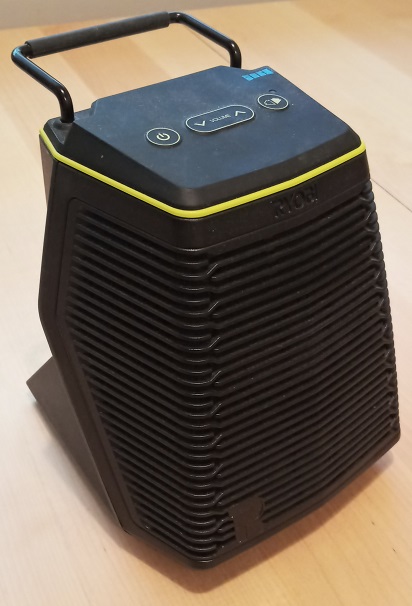
Pictures on this page were taken from a P761 purchased from Home Depot.
Back to Projects